


Tiling is one of those transformative DIY projects that can elevate the aesthetic appeal of any space while also adding value to your home. Whether you’re a seasoned DIY enthusiast or just starting to dabble in home improvement, mastering the art of tiling can be a game-changer. Here’s a comprehensive guide to help you navigate the world of DIY tiling like a pro.
1. Planning is Key
Before diving into your tiling project, take time to plan. Measure the area accurately to determine the amount of tile needed. Additionally, consider the type of tiles (ceramic, porcelain, mosaic, etc.) that suit your space best, factoring in durability, style, and maintenance.
2. Gather the Right Tools and Materials
Having the right tools is crucial for a successful tiling job. Here’s a checklist of essentials:
- Tiles
- Tile adhesive
- Tile spacers
- Tile cutter or wet saw
- Trowel
- Grout
- Level
- Sponge
- Measuring tape
3. Prepare the Surface
Ensure the surface you’re tiling is clean, dry, and free from debris. Use a primer if necessary to create a suitable base for the tiles. For walls, locate and mark the centerline to establish a guide for tile placement.
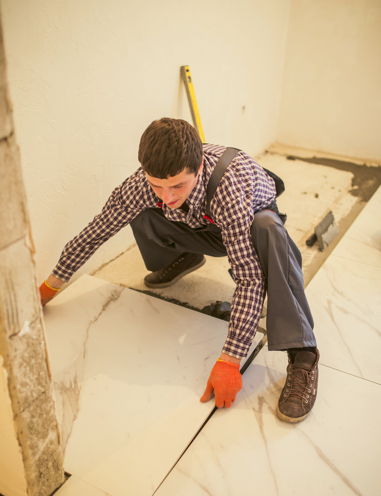
4. Tile Installation
Apply adhesive to the surface using the notched side of the trowel, creating grooves for better adhesion. Carefully place each tile, using spacers to maintain even gaps between them. Use a level frequently to ensure the tiles are straight and aligned.
5. Cutting Tiles
For areas that require smaller tile pieces or specific shapes, a tile cutter or wet saw comes in handy. Measure twice and cut once to minimize errors.
6. Grouting
Once the adhesive has dried and the tiles are firmly in place, it’s time to apply grout. Mix the grout according to the instructions and use a rubber float to spread it evenly into the gaps between tiles. Wipe off excess grout with a damp sponge before it dries completely.
7. Finishing Touches
After the grout has cured, buff away any haze on the tiles with a dry cloth. Seal the grout to protect it from stains and moisture, extending the life of your beautiful tiling job.
8. Maintenance
Regular cleaning and maintenance will keep your tiled surface looking pristine. Use a mild detergent and avoid abrasive cleaners to preserve the tile’s finish.
Final Thoughts
Undertaking a tiling project can be immensely rewarding, but it’s normal to encounter challenges along the way. If you ever find yourself in need of expert advice or assistance, consider reaching out to professionals like K&D Professional Handyman Services. Our expertise and guidance can help navigate any complexities and ensure your tiling project turns out flawlessly.
Remember, practice makes perfect, so start with smaller projects to build your confidence before taking on larger areas. With patience, attention to detail, and the right tools, you can transform any space with stunning, DIY-tiled surfaces.
Happy tiling!!!
Image from Freepik