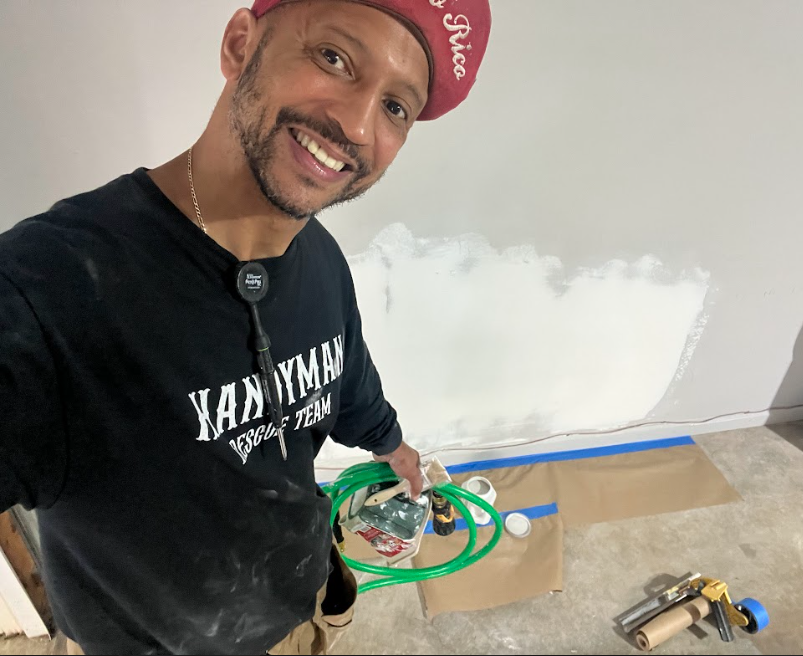
Get ready to transform your living space! Drywall, also known as gypsum board or sheetrock, is the versatile canvas upon which your home’s interior beauty takes shape. In this easy-to-follow guide, we’ll walk you through the exciting journey of installing drywall in your home, unlocking the potential to create a smooth, clean, and beautiful backdrop for your dreams.
Section 1: Gather Your Materials and Tools Before you start your drywall installation project, ensure you have all the necessary materials and tools ready. Here’s what you’ll need:
- Drywall sheets
- Drywall screws (usually 1 1/4″ or 1 5/8″ drywall screws)
- Drywall joint tape (paper or mesh)
- Joint compound (also known as mud)
- Drywall knife or trowel (various sizes for different tasks)
- Drywall saw or utility knife
- Drywall rasp or sandpaper
- Screwdriver or drill with a screw bit
- Measuring tape
- Straightedge or level
- Drywall corner beads (if needed for outside corners)
Section 2: Measure and Cut Drywall Accurate measurement and precise cutting are crucial for a successful drywall installation. Here’s how to do it:
- Gather measurements for your project, double-checking for accuracy.
- Mark the drywall sheets with your measurements and use a straightedge or level to guide your cuts.
- Use a drywall saw or utility knife to cut the drywall sheets to size.
- Remember to wear safety gear, including safety glasses and a dust mask.
Section 3: Attach Drywall Sheets The correct attachment of drywall sheets is essential for stability and appearance. Follow these steps:
- Start at the top (ceiling if applicable) and work your way down to the walls.
- Secure the drywall sheets to the framing using drywall screws. Space the screws about 12 inches apart around the edges and every 16 inches along the studs or joists.
- Always ensure that the ends of the drywall sheets meet on a stud or joist.
Section 4: Taping and Mudding Taping and mudding are vital for creating a seamless and smooth surface. Here’s the process:
- Apply drywall joint tape over the seams where drywall sheets meet. Center the tape over the seam.
- Use a drywall knife or trowel to embed the tape into the joint compound, eliminating air bubbles or wrinkles.
- Apply multiple coats of joint compound, feathering the edges each time, and allow each coat to dry.
- Sand the surface between coats to remove imperfections.
Section 5: Corner Beads (if needed) For outside corners, corner beads provide protection and a clean finish. Here’s how to use them:
- Measure, cut, and position the corner bead along the outside corner.
- Secure the corner bead with screws or nails.
- Apply joint compound over the corner bead, feathering the edges for a professional finish.
Section 6: Sand and Finish Sanding and finishing are essential for achieving a smooth, professional-looking surface. Follow these steps:
- Start with coarse-grit sandpaper to remove imperfections.
- Switch to fine-grit sandpaper for final smoothing.
- Inspect and repeat until the surface is flawless.
- Wear safety gear, including safety glasses and a dust mask, during sanding.
7. Prime and Paint:
- After a thorough cleaning, apply a coat of primer to seal the surface, followed by your chosen paint color or texture.
Congratulations! You now have a solid grasp of the drywall installation process. As you embark on your journey to install drywall in your home, keep in mind the importance of patience and safety. If you ever find yourself facing challenges beyond your expertise, don’t hesitate to reach out to the professionals. With each project, your skills will improve, and soon, you’ll master the art of creating walls and ceilings that not only beautify your space but also enhance its functionality, turning your house into a cozy and inviting home.


